아래는 Hastymail홈페이지에 나와있는 설치방법입니다. 아래는 Hastymail홈페이지에 나와있는 설치방법입니다.
INSTALLING Hastymail


1. Prerequisites
2. Notes
3. Nitty-Gritty
4. Restricted access install
5. Extra information
6. Database Support

1. Prerequisites

  PHP 4.1+ enabled web server. All testing is done with current versions of
Apache 1 and 2. Apache is needed for the implementation of the safe
encryption key, and as of now Unix/Linux servers are the only ones
being tested.  An IMAP server is required for Hastymail, since it is an IMAP
client. RFC 3501 compliant servers should work fine, most testing is done with
UW, Courier and Cyrus but we have also tested with many other IMAP servers on
different platforms.
  It has been determined that if the PHP setting "session.auto_start" is enabled
in your php.ini file you will not be able to login to Hastymail. You must change
this value to 0, (which is normally the default). Don't forget to restart your
webserver software after changing your php.ini file.

2. Notes

  Hastymail is intended to be secure, but flexible in how it is to be
configured allowing for different balances of security vs. ease of setup.
The default setup will require the creation of a hastymail.conf file as
outlined below, the creation of certain system directories and the
creation and setup of the hidden key mechanism for Hastymail's encryption.
Steps to achieve all this are detailed below, and require no more than a
standard set of system tools and basic knowledge.

****************************************************************************
**************** If you want to use IMAPS you MUST have a ******************
************ PHP version of 4.3 or later with openssl support **************
****************************************************************************

3. Nitty-Gritty

First of all place the Hastymail code into a folder within your webservers
document root. The folder can be named anything you like, and can be anywhere
in your web page tree, but you must not rename or move files around within the
hastymail folder.  for example:

     tar zxvf hastymail.x.x.tgz
     mv hastymail.x.x /usr/local/apache/htdocs/
     cd /usr/local/apache/htdocs/
     mv hastymail.x.x webmail

The next step is to create a hastymail.conf file for hastymail to use
for the site wide settings. Use the sample config file called
hastymail.conf-example as a basis. Be sure to read the comments for each
setting to properly decide the right value for your site.
After editing that file do:

    mv hastymail.conf-example /etc/hastymail.conf
    chown root:root /etc/hastymail.conf
    chmod 644 /etc/hastymail.conf

If you want to use a different location or name for the hastymail.conf file
you can, but you must edit line #5 of lib/constant.php. Change the
'/etc/hastymail' to the new name or location. Don't forget to leave the
starting and ending single quotes.

Next create some hastymail directories to be used by the program.
<your_apache_user> and <your_apache_group> are the username and
group name that your Apache server runs as.

    mkdir -p /var/hastymail/settings/attachments
    chown -R <your_apache_user>:<your_apache_group> /var/hastymail/settings
    chmod 700 /var/hastymail/settings /var/hastymail/settings/attachments

Pay attention when you're server is running PHP's safe_mode: Make sure
the owner of the hastymail-files is the same as the owner of the
settings-directory, which probably means that you have to run

chown -R www-data:www-data [hastymail installdir]

or, with safe_mode_gid=on:

chgrp -R www-data[hastymail installdir]

The settings directory is where user preferences are saved between sessions.
Attachments are placed in the attachments directory when adding them to
outgoing mail (they are deleted as soon as the mail is sent or canceled)
If you want to use another location then make sure it matches the value of
settings_dir in the hastymail.conf file.

Next you must decide how the encryption key is to be setup. There are two
available options, the easy less secure way, and the harder (but not too hard!)
more secure way. The more secure way requires the Apache web server.


Easy but less secure way:
    Edit the file /lib/constant.php, line 22. Replace the
    'you should be using the more secure version!' string with a
    long string of whatever you like (no single quotes however).
    Make sure you still have the starting and ending single quotes.

    If you are not going to use the more secure method (you should!) then
    YOU MUST CHANGE THE STRING IN CONSTANT.PHP. YOU WILL NOT BE ABLE TO
    LOGIN TO HASTYMAIL UNLESS YOU CHANGE THIS VALUE!!!!!

Not too much harder more secure way:
    Create a directory for an Apache include file, like so:

    mkdir -p /var/hastymail/include

    Then create an apache include file, for example called apache.inc. The
    file should look like this:

    <Directory /usr/local/apache/htdocs/webmail/>
    SetEnv HASTY_KEY "Your_long_random_string_goes_here"
    </Directory>

    Replace the Directory path with the real path to the top level hastymail
    directory on your system. Replace the text between the quotes with a long
    encryption key. Performace will be effected by really large strings, I use
    one with about 520 random characters and it does not seem to slow things
    down.

    next change the permissions on the file so that only the root user can read
    it:

    chown root:root apache.inc
    chmod 400 apache.inc

    Now add this configuration option to your Apache configuration file:

    Include /var/hastymail/include/apache.inc

    Restart Apache and Hastymail will now use the key in apache.inc.


4. Restricted access install

There are lots of ways you may be restricted by your host. Some restrictions
keep Hastymail from working (for example fopen wrappers being disabled in PHP),
however hastymail can still work in a limited environment such as basic PHP
safe-mode restrictions.

In the following example jason can login to a command shell but only has write
access to his home directory on host www.name.com. His web pages are served from
the public_html/ directory which are accessed at http://www.name.com/~jason/.

username:            jason
home directory:      /home/jason/
web data:            /home/jason/public_html/

The current working directory should be  /home/jason/
Download the hastymail tar file to this directory then:

    tar zxvf hastymail.x.x.tgz
    mv hastymail.x.x public_html/webmail
    mkdir -p hastymail/settings/attachments
    cp public_html/webmail/hastymail.conf-example hastymail/hastymail.conf
    cd hastymail

    Edit the hastymail.conf file. Make any changes you need. In this
    example settings_dir should be set to:

        settings_dir=/home/jason/hastymail/settings

    cd public_html/webmail/lib

    Edit the constant.php file. Change the value for $config_file. In this
    example $config_file should be set to:

        $config_file = '/home/jason/hastymail/hastymail.conf';

    Make sure you change the $hasty_key value!

        $hasty_key   = 'a long random string goes here';

    example login:

        http://www.name.com/~jason/webmail/index.php


5. Extra information

  OpenBSD chrooted Apache and Hastymail

Apache included with OpenBSD runs on a chroot environment by default, in order
to use Hastymail with this security feature enabled you need to prepare the
environment so Hastymail can run flawlessly.

   Create "var" directory to hold hastymail preferences and attachments
    directories previously explained in this document.

	mkdir /var/www/var
	chown root.daemon /var/www/var
	chmod 755 /var/www/var

   Create "tmp" directory to hold session data, must be writeable by Apache
   user www in OpenBSD.

	mkdir /var/www/tmp
	chown www.daemon /var/www/tmp
	chmod 755 /var/www/tmp

   Create "etc" directory to hold hastymail.conf file, if you override the path
   as previously explained in this document, you must reflect that changes when
   doing this.

	mkdir /var/www/etc
	chown root.daemon /var/www/etc
	chmod 755 /var/www/etc

   You have to adapt the installation instructions to reflect the changes done.


6. Database Support
Since HastyMail 1.4, database support has been available for the storage of user
settings.  To use a database to store the settings, your PHP installation must have
the PEAR libraries (http://pear.php.net), and support for the appropriate database
system you plan to use.  For example, your PHP installation must be compiled using
--with-mysql if you plan on using MySQL as your storage engine.

Once your PHP installation has the appropriate support, change settings_storage in
your hastymail.conf file to db, and update the following settings to match your
environment:

  settings_dbdsn
  settings_dbtable
  settings_table_user
  settings_table_key
  settings_table_data

The hastymail.conf-example is commented, with examples to show what these values mean.
An example installation for your HastyMail user settings could use the following SQL.
This code is based on MySQL and may vary depending on your database system.

    create database hasty_prefs;
    use hasty_prefs;
    create table hm_prefs (
        username char(100) not null,
        settings_key char(100) not null,
        settings_data blob,
        primary key (username, settings_key)
    );
    grant select,insert,delete,update on hasty_prefs.* to hasty@localhost identified by 'mail';

Once run, you would set the following values in your hastymail.conf:

  settings_storage=db
  settings_dbdsn=mysql://hasty:mail@localhost/hasty_prefs
  settings_dbtable=hm_prefs
  settings_table_user=username
  settings_table_key=settings_key
  settings_table_data=settings_data

This should allow your users' settings to be stored in a database.

To allow users to store there contacts in a database, use the following as a template.
The example is based around MySQL and may vary depending on your database system.

    create database hasty_prefs;
    use hasty_prefs;
    create table hasty_contacts (
        username char(100) not null,
        contact_name char(100),
        contact_data blob,
        index (username)
    );
    grant select,insert,update,delete on hasty_prefs.* to hasty@localhost identified by 'mail';

You do not need to issue a "create database" step if you are using the same database as the
settings table from above.  Then adjust the following values:

    contacts_storage=db
    contacts_dbdsn=mysql://hasty:mail@localhost/hasty_prefs
    contacts_dbtable=hasty_contacts;
    contacts_dbuserfld=username
    contacts_dbcontactfld=contact_name
    contacts_dbdatafld=contact_data

Then you should be set to go.


Thats it! you should now be able to login to hastymail with a valid
IMAP account. If you have problems getting hastymail installed on your
setup send some information, like operating system, web server software,
imap server, and some details about whats happening to the developer list at:

        hastymail-devel@lists.sourceforge.net

Thanks for trying hastymail! We want your feedback to make Hastymail better
so if you have a question, comment, or complaint please let us know!
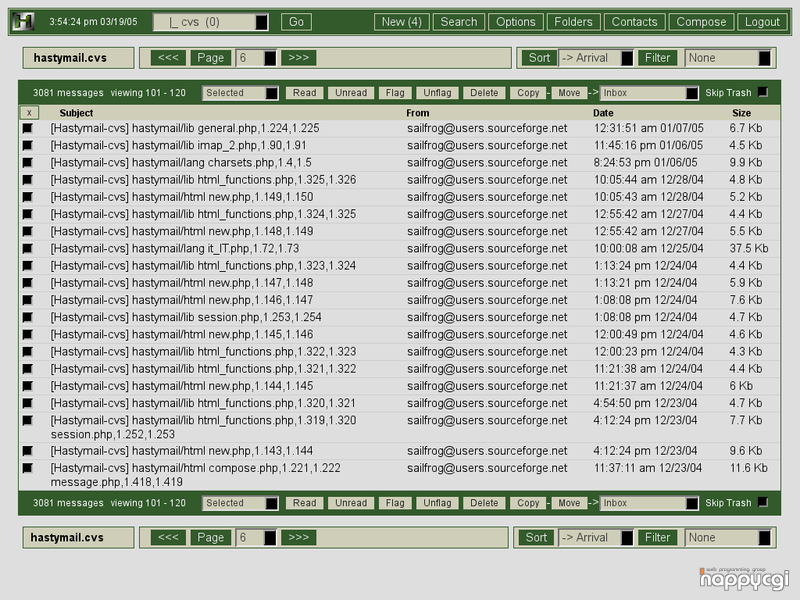
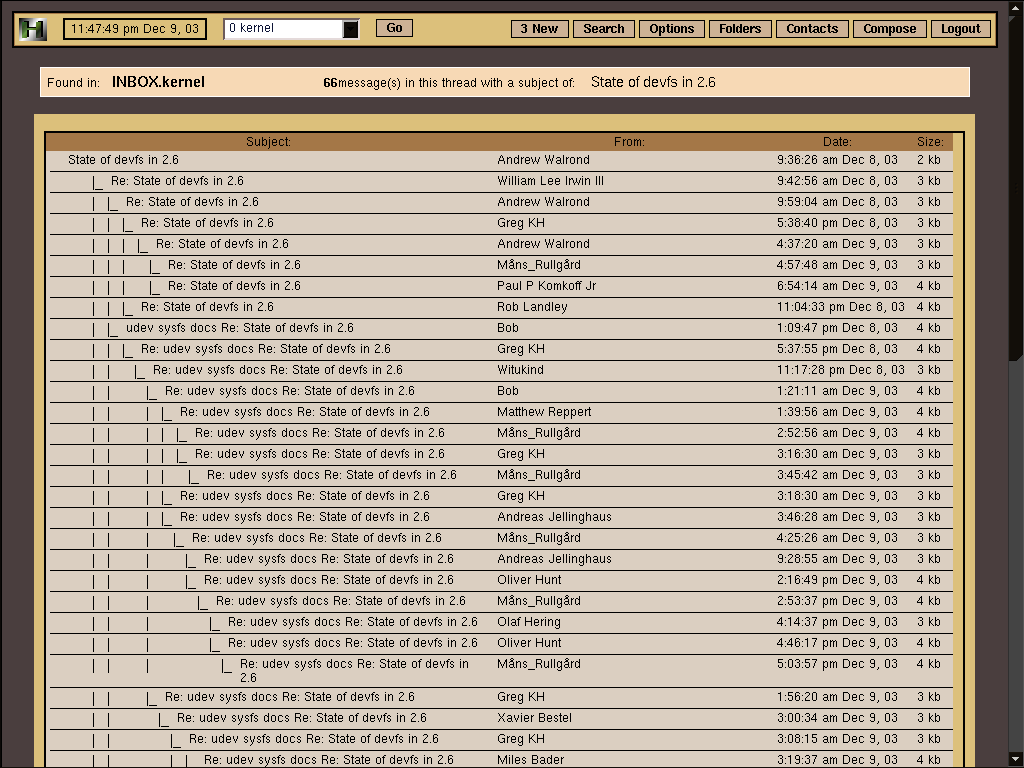
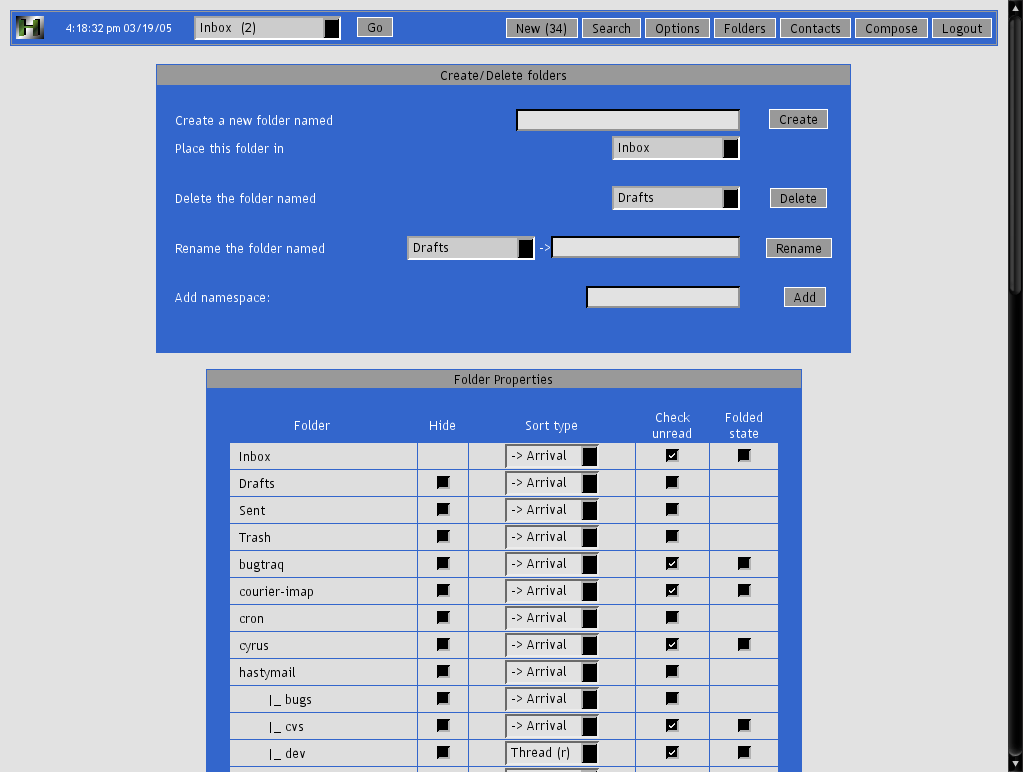
 스크린샷입니다^^ 스크린샷입니다^^


|