Download script
스크립트 관련 자료는 해당파일을 다운받으시면 내용이 포함되어 있습니다.
슬라이드쇼에 이미지 추가하기
<body> 태그안에 슬라이드쇼 관련 이미지를 추가하면 됩니다. <div id="theImages"> section
This is done with the following syntax:
<a href="#" onclick="showPreview('images/image1_big.jpg');return false"><img src="images/image1.jpg"></a>
image1.jpg is the small image, while image1_big.jpg is the larger version of image1.jpg, i.e. the image that is loaded into the preview pane
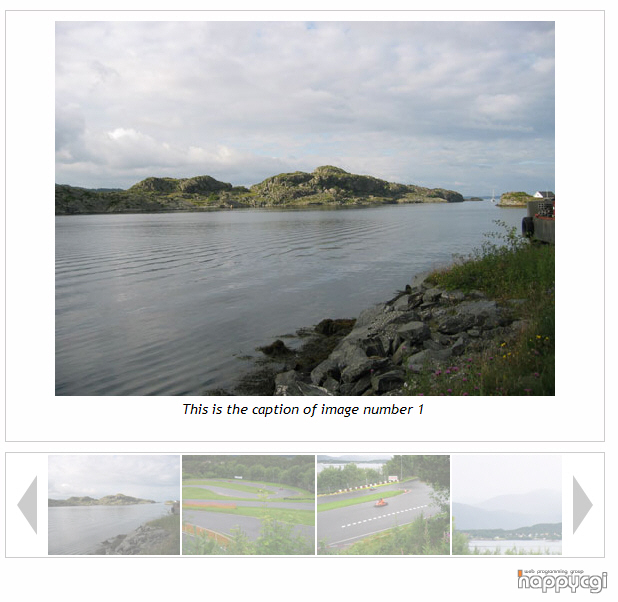
When someone opens the page, you can have a default image showing in the preview pane. This is done by adding a <img> into the "previewPane" div. Example:
<div id="previewPane">
<img src="images/image1_big.jpg">
</div>
이미지 제목 추가하기
Image captions are added right below the <A> tags for your small images. Example:
<div class="imageCaption">This is the caption of image number 1</div>
<div class="imageCaption">This is the caption of image number 2</div>
<div class="imageCaption">This is the caption of image number 3</div>
<div class="imageCaption">This is the caption of image number 4</div>
<div class="imageCaption">This is the caption of image number 5</div>
<div class="imageCaption">This is the caption of image number 6</div>
<div class="imageCaption">This is the caption of image number 7</div>
<div class="imageCaption">This is the caption of image number 8</div>
갤러리 이미지 크기 바꾸기
이미지크기 변경과 관련된 파일은 css/image-slideshow.css 파일을 참고하시면 됩니다.


